
Have you ever looked at your chicken coop and thought, "There's got to be a better way to handle all this poop?" Well, you're in luck. Composting with chicken manure isn't a chore - it's a game-changer for your garden and the planet. Imagine turning what most folks see as waste into rich, nutrient-packed soil that makes your veggies thrive. That's the magic we're talking about here at Hen & Chick.

A couple of our girls helping with composting magic! 🐔🌿
We're a family-run brand, started by two sisters and their husbands, all passionate about backyard chickens. We know the joys (and occasional messes) of raising a flock. Over the years, we've honed this composting trick on our own homesteads, and it's become a cornerstone of our sustainable living philosophy. No fancy equipment needed - just some basic know-how and a willingness to get a little dirty. In this guide, we'll walk you through everything, from why it works to how to do it right. And by the end, you'll be ready to start your own pile. Let's dig in - pun intended!
Why Chicken Manure Composting Works
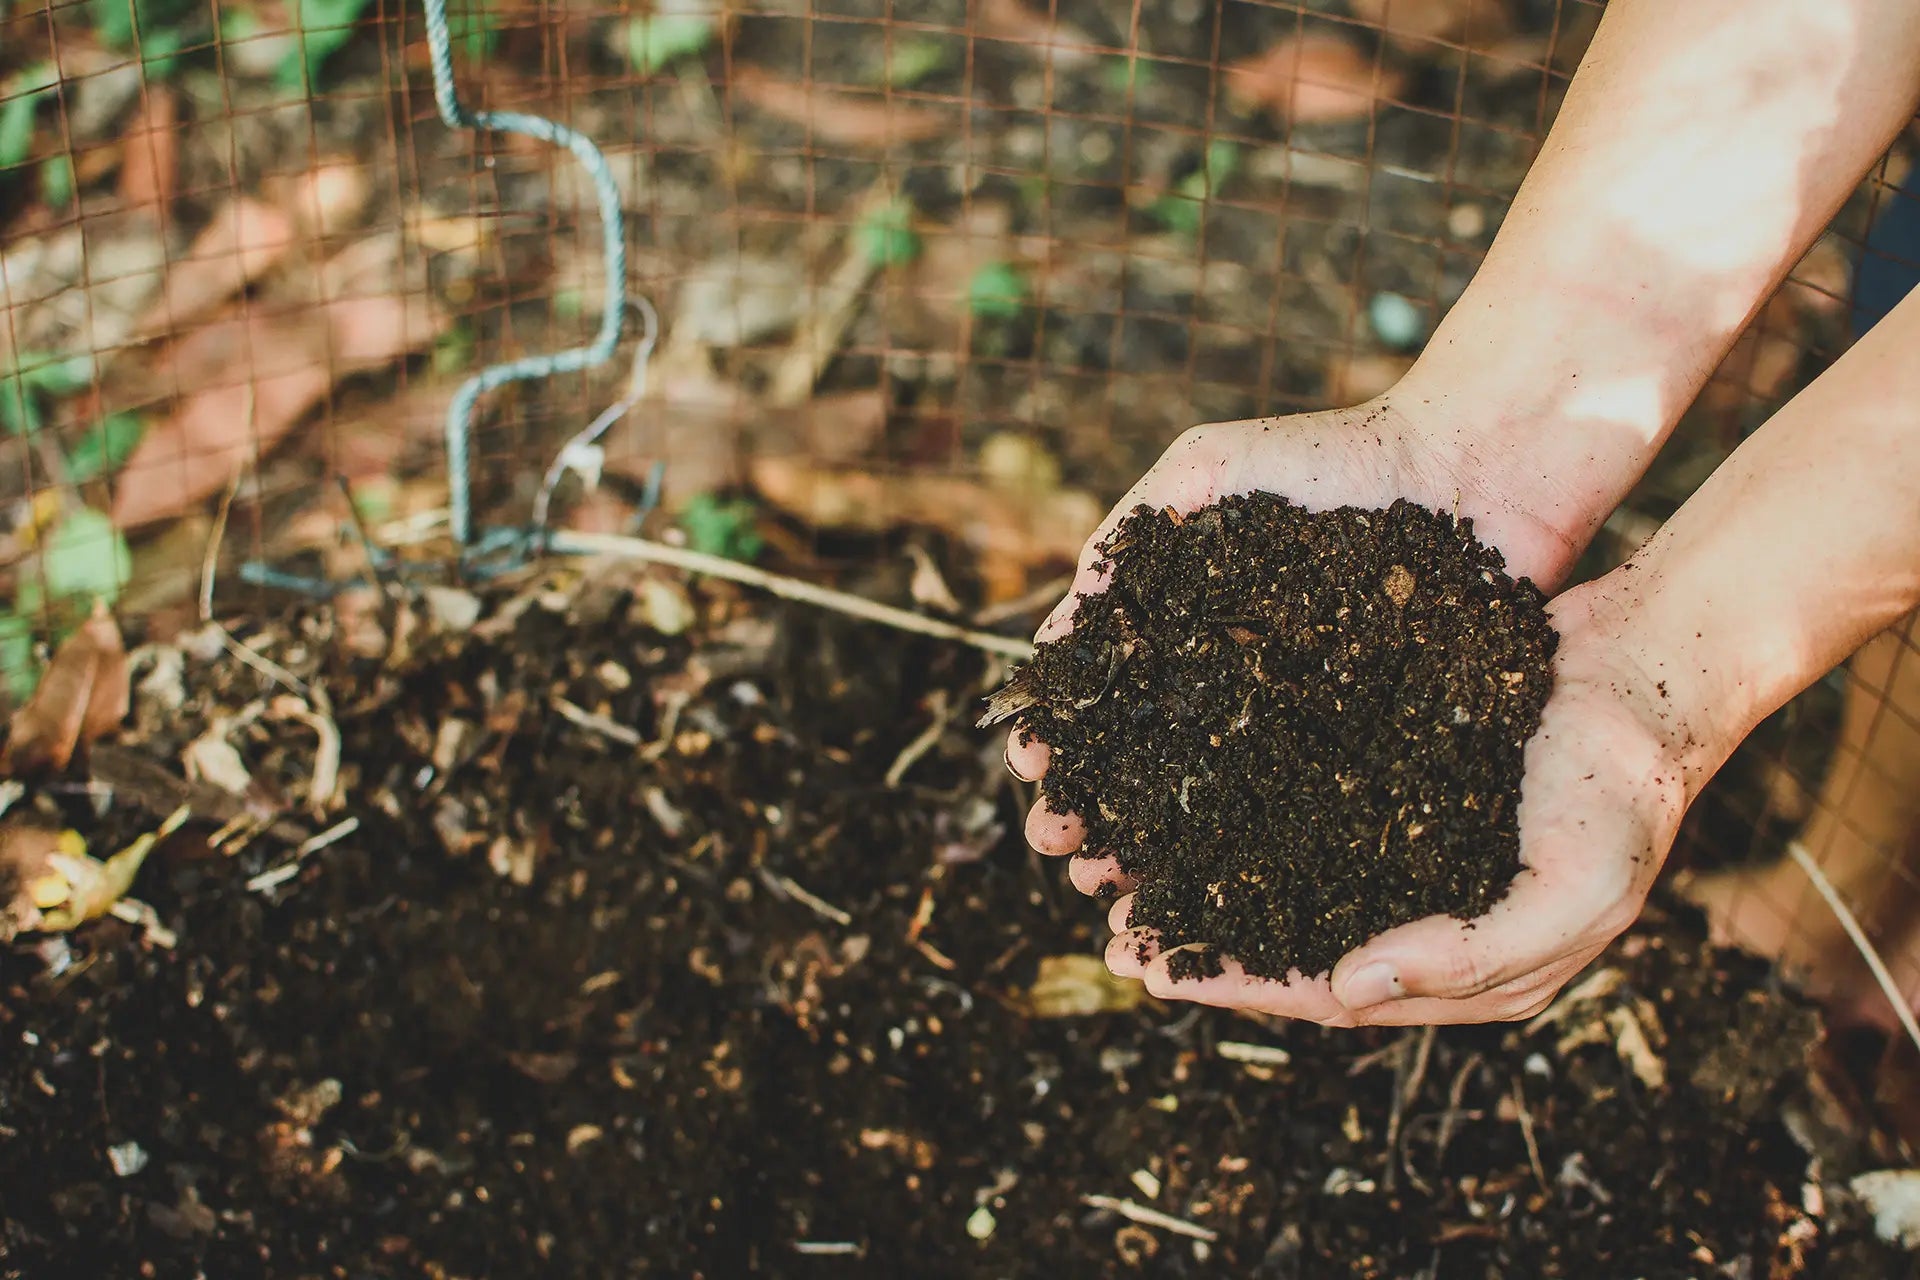
Let's start with the basics. Chicken manure is like nature's multivitamin for your soil. It's loaded with nitrogen, phosphorus, and potassium - the big three nutrients plants crave. Compared to cow or horse manure, it's more concentrated, which means a little goes a long way. But here's the key: fresh chicken poop is hot stuff - literally. It can burn plants if used directly because of its high ammonia content. That's where composting comes in. The process breaks it down, killing off pathogens and weeds, turning it into a safe, crumbly humus that's garden-ready.
Chicken manure can burn plants if used directly because of the high ammonia content. That's why we compost it!
Think about sustainability and self-reliance for just a moment. In a world where we're all trying to reduce our footprint, composting your flock's waste keeps it out of landfills. It cuts down on methane emissions - a big greenhouse gas culprit. Plus, it's free fertilizer! No more buying bags of chemical-laden stuff from the store. Our family learned this the hard way. Back when we started, we were tossing coop cleanings into the trash. What a waste! Once we switched to composting, our garden exploded with growth - tomatoes taller than the kids, zucchini we couldn't give away fast enough.

Rich compost starts with happy hens and our treats!
But it's not just about the garden. Healthy composting ties back to your hens' wellness. When you feed them natural, balanced treats like our Just Mealworms or Herb & Hen mix, their manure becomes even richer. It's a cycle: happy hens produce quality poop, which makes stellar compost, which grows better forage for treats. We've seen it firsthand on our farm - hens scratching through compost piles, pecking at worms, staying active and content. It's all connected, and that's the beauty of sustainable chicken keeping.
Now, you might wonder about the smell. Done right, composting shouldn't stink up your yard. Aeration and balance are key - we'll cover that soon. And for those in suburban spots, this method is discreet. No massive piles needed; a simple bin does the trick. In 2025, with more folks embracing homesteading and becoming more self-sufficient, this garden hack is trending. Blogs and forums are buzzing about it, and for good reason. It's simple, effective, and aligns with that chic, natural vibe we love at Hen & Chick.
Step-by-Step Guide to Composting
Alright, let's get practical. You don't need a degree in soil science to pull this off. We've broken it down into easy steps, based on what works for us. Grab a notebook - or better yet, head out to the coop while reading this!
Done right, composting won't stink up your yard or have the neighbors calling in complaints. It's all about aeration and balance.
First things first: Gather your materials. You'll need chicken manure (obviously), plus carbon sources like straw, dried leaves, or shredded newspaper. Aim for a 2:1 ratio - two parts carbon to one part manure. This balances the "greens" (nitrogen-rich manure) with "browns" (carbon). Too much green, and it gets slimy and smelly. Too much brown, and it decomposes slowly. We use our coop bedding - pine shavings mixed with droppings - as a ready-made starter.
Step one:
Choose your composting spot or bin. If space allows, a simple pile works, but if you want to keep it clean and tidy, go with a bin. We started with a DIY version from old pallets - free and rustic. Place it in a shady spot to keep it from drying out. Add your first layer of browns, about 6 inches thick, then top with manure. Wet it down lightly; the pile should be moist but not soggy.
Step two:
Layer and turn. Add more layers as you clean the coop. Every time you add manure, cover with browns. Once a week, turn the pile with a pitchfork. This aerates it, speeding up decomposition. It's like fluffing a pillow - oxygen helps the good bacteria thrive. In hot weather, turn more often to prevent overheating. We time our turns for Saturday mornings - coffee in hand, watching the steam rise as microbes work their magic.

Turning the pile - a weekly ritual for gardening wins!
Step three:
Monitor and maintain. Check moisture: Squeeze a handful; it should form a loose ball without dripping. If dry, add water or kitchen scraps (veggie peels are great, but avoid meat or dairy to keep pests away). Temperature matters too - a healthy pile hits 130-150°F inside, killing weeds, pathogens, and other critters you won't want in your garden. Use a compost thermometer if you have one; otherwise, feel the heat with your hand. During the winter months, consider insulating with straw bales to keep it going all season long.
Step four:
Patience and harvest. Composting takes 6-12 months, depending on conditions. You'll know it's ready when it's dark, earthy-smelling, and crumbly - no recognizable bits left. Sift it if needed, and spread on your garden beds. We harvest in spring, mixing it into soil for our herb garden. The hens love scratching through the remnants, finding treats like worms.

From coop to crop - 6 months of patience pays off!
Common mistakes?
- Don't add too much at once - it can compact and go anaerobic (stinky!).
- Avoid diseased plants or weeds with seeds.
- And always wear gloves - safety first
If you're new to this, start small. Our first pile was tiny, but it taught us volumes.
Let's talk troubleshooting.
- If it smells bad, add more browns and turn it.
- Too wet? More carbon (browns).
- Pests? Bury fresh additions deeper.
We've dealt with flies once - a quick turn and some extra straw fixed it. For urban keepers, enclosed bins like tumblers work wonders, though they're pricier; DIY with a barrel if budget's tight.
Seasonal twists add fun. In fall, layer in leaves for extra carbon. Summer? Water more. In the winter composting slows due to lower temperatures, but insulating with straw helps. We've even experimented with bokashi once - a fermented method - for faster results, but traditional works great for most chicken keepers.
Sustainable Living Tips from Our Farm
This isn't just a guide - it's from the heart of our homestead. The two sisters behind Hen & Chick have kept chickens for years, but sustainability clicked in later. One sister recalls her first compost success:
"I mixed in manure from our flock, and come spring, the flowers were vibrant. It felt like closing the loop - and saved a ton of money on fertilizer!"
We've refined it over time, incorporating tips that make it effortless.
Tip one:
Integrate foraging. Let hens free-range safely - they aerate soil and add diversity to your compost with pecked greens. Pair with our Prairie Medley treats for balanced nutrition, ensuring manure stays nutrient-dense.
Tip two:
Go beyond basics. Add eggshells (crushed) for calcium, or coffee grounds for acidity balance. We've collected from local cafes - it's free and sustainable! We avoid citrus or onions; since the hens don't love them anyway.

Our family keeps it sustainable - coffee grounds included!
Tip three:
Scale for your setup. Just keeping a small flock? A 3x3 bin suffices. Got a larger flock? Multiple piles. On our farms, we rotate three - one building, one curing, one ready.
Tip four:
Community angle. Share your compost with neighbors - it builds bonds. Or donate to community gardens. We've done swaps in the past: compost for veggies or flowers.
Tip five:
Tie it in with your broader sustainability efforts. Use compost in your raised beds for water efficiency. Plant cover crops to prevent erosion. It's all part of that sustainable conscious life we're trying to live.
FAQs we hear often:
Is it safe for veggies?
Yes, if fully composted. You don't have to worry about diseases or the nitrogen being too high, if you let the compost process work its magic. Remember - you're looking for a finished product that looks like crumbly, moist, dark dirt.
How to speed it up?
Consider adding worms for vermicomposting - red wigglers thrive in manure mixes. We started with a handful from a friend; now our pile's alive with them.
Personal story: Last year, a storm knocked down branches. We shredded them for carbon in our compost piles - turned a mess into compost gold. Hens pecked through, happy as can be. Moments like that remind us why we do this.

A sustainable cycle - thanks to our flock, treats, and feed!
Conclusion
Composting with chicken manure is more than a hack - it's a step toward a greener, self-sufficient life. You've got the tools now: from why it works to hands-on steps and farm-tested tips. Start small, stay consistent, and watch your garden - and flock - flourish. At Hen & Chick, we believe in spoiling your hens while honoring the earth. Ready to build that pile? Your sustainable adventure awaits. What are you waiting for?
0 comments